Repair Kits: Fixing Dings

Live Surf Cams

Surfline Live is a 24/7 glimpse into the world’s surf.

This stream moves through Surfline’s global camera network, showing spots where it’s daylight and rated Fair or better.

What’s The Deal With…?

Surf Gear Essentials

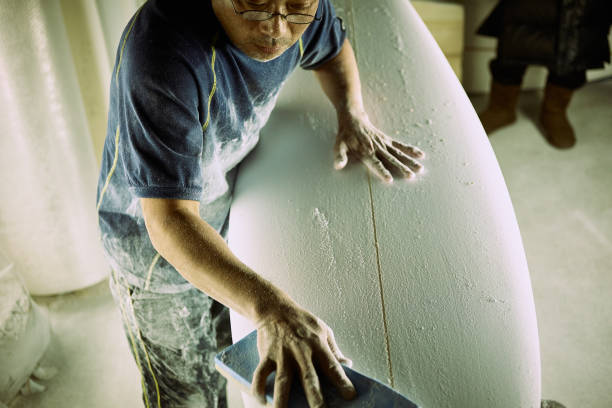
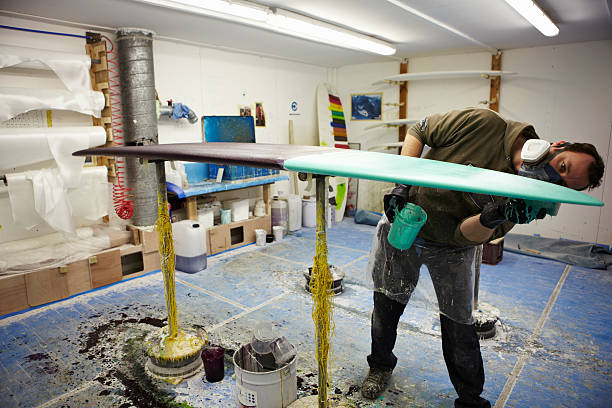
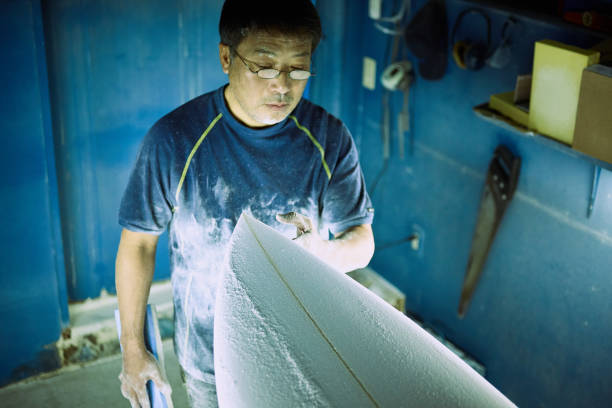
Patience and sanding, bro! After your repair cures, start with a coarser grit (like 80) to knock down the big bumps. Then work your way through finer grits—120, 220, 320. Always sand wet to keep the dust down and the paper from clogging. The final polish is key. For that pro, glassy finish, use a very fine grit like 600 or even 1000. Take your time with each step. Rushing the sanding is what leaves your board feeling like a cheese grater.

This totally depends on your resin. Quick sun-cure stuff can be ready to sand in 20 minutes if it’s bright out. For standard polyester resin (the stuff that comes with a tube of hardener), give it at least 12-24 hours to fully harden before sanding and hitting the water. Epoxy resin often needs a full 24 hours or more. Don’t rush it! If it’s still tacky or soft, it’s not ready. A premature paddle-out can ruin your repair and let the ocean in.

A ding kit is your first-aid pack for your board. It’s a small collection of resin, hardener, fiberglass cloth, sandpaper, and a spreader. Saltwater is like poison to the foam inside your board; even a tiny crack can let it in, causing major waterlogging and delamination. Having a kit means you can patch up a ding ASAP after your session, right there in the parking lot or at home. It saves your board’s life and saves you a ton of cash on pro repairs for minor damage.

Surf Gear Essentials

You can attempt a major repair, but it’s a serious project. For a snap, you need to align the stringer perfectly, glue it, and then re-glass the entire area. A massive rail crush or big gash requires significant foam shaping and multiple layers of glass. It’s doable with the right materials and a solid guide, but it’s easy to mess up the board’s flex and balance. For your favorite stick, a bad snap might be a job for the local shaper or repair guru.

First, you gotta let the board dry out completely, which can take a few days. Then, grab some coarse-grit sandpaper and rough up the area around the ding, making sure to feather the edges of the existing glass. Clean out any loose foam or old resin. Wipe it down with acetone to get rid of all wax, oil, and dust—this is crucial for the new resin to stick. A clean, dry, and rough surface is key. If you skip this, your patch will just pop right off after a few waves.

For a solid field repair, you need a “sun-cure” or “UV” resin kit. These are perfect because they cure quickly in sunlight, no mixing required. Grab a small piece of sandpaper to rough up the area, some squeegee or an old gift card to spread the resin, and a razor blade to trim the excess once it’s set. Toss it all in an old wax tub. This lets you seal the ding temporarily to keep the water out until you can do a more permanent, laminated repair later.